How do I accept Pre-Orders?
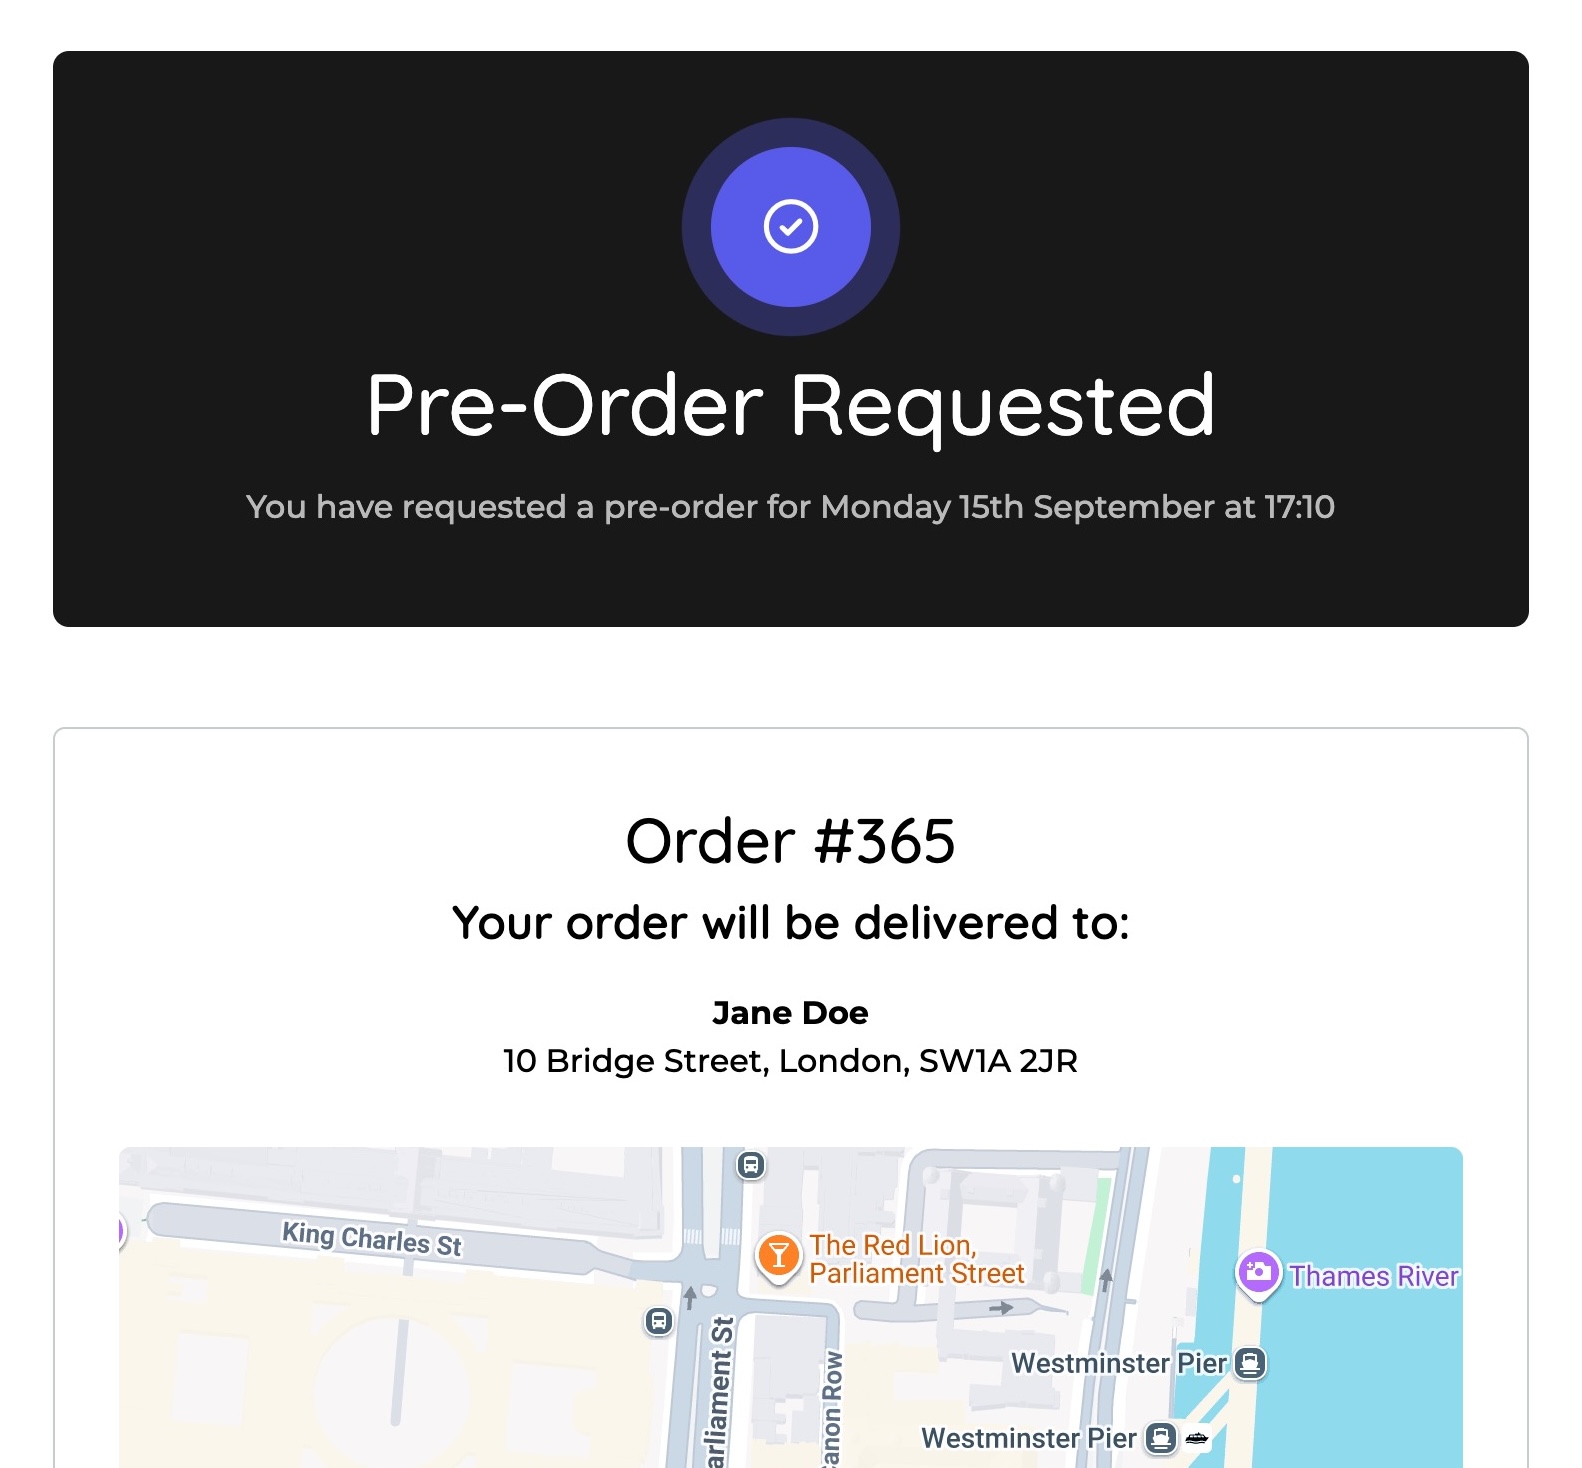
Pre-orders allow your customers to place orders in advance for a specific date and time. This is useful for catering, events, busy peak periods, or customers who want to schedule their meal ahead of time.
This guide walks you through the full process of receiving, accepting, preparing and fulfilling customer pre-orders using the Fudli Merchant App.
Managing Customer Pre-Orders
Step 1 – Enable Pre-Orders in Admin
- Log into your Admin Panel.
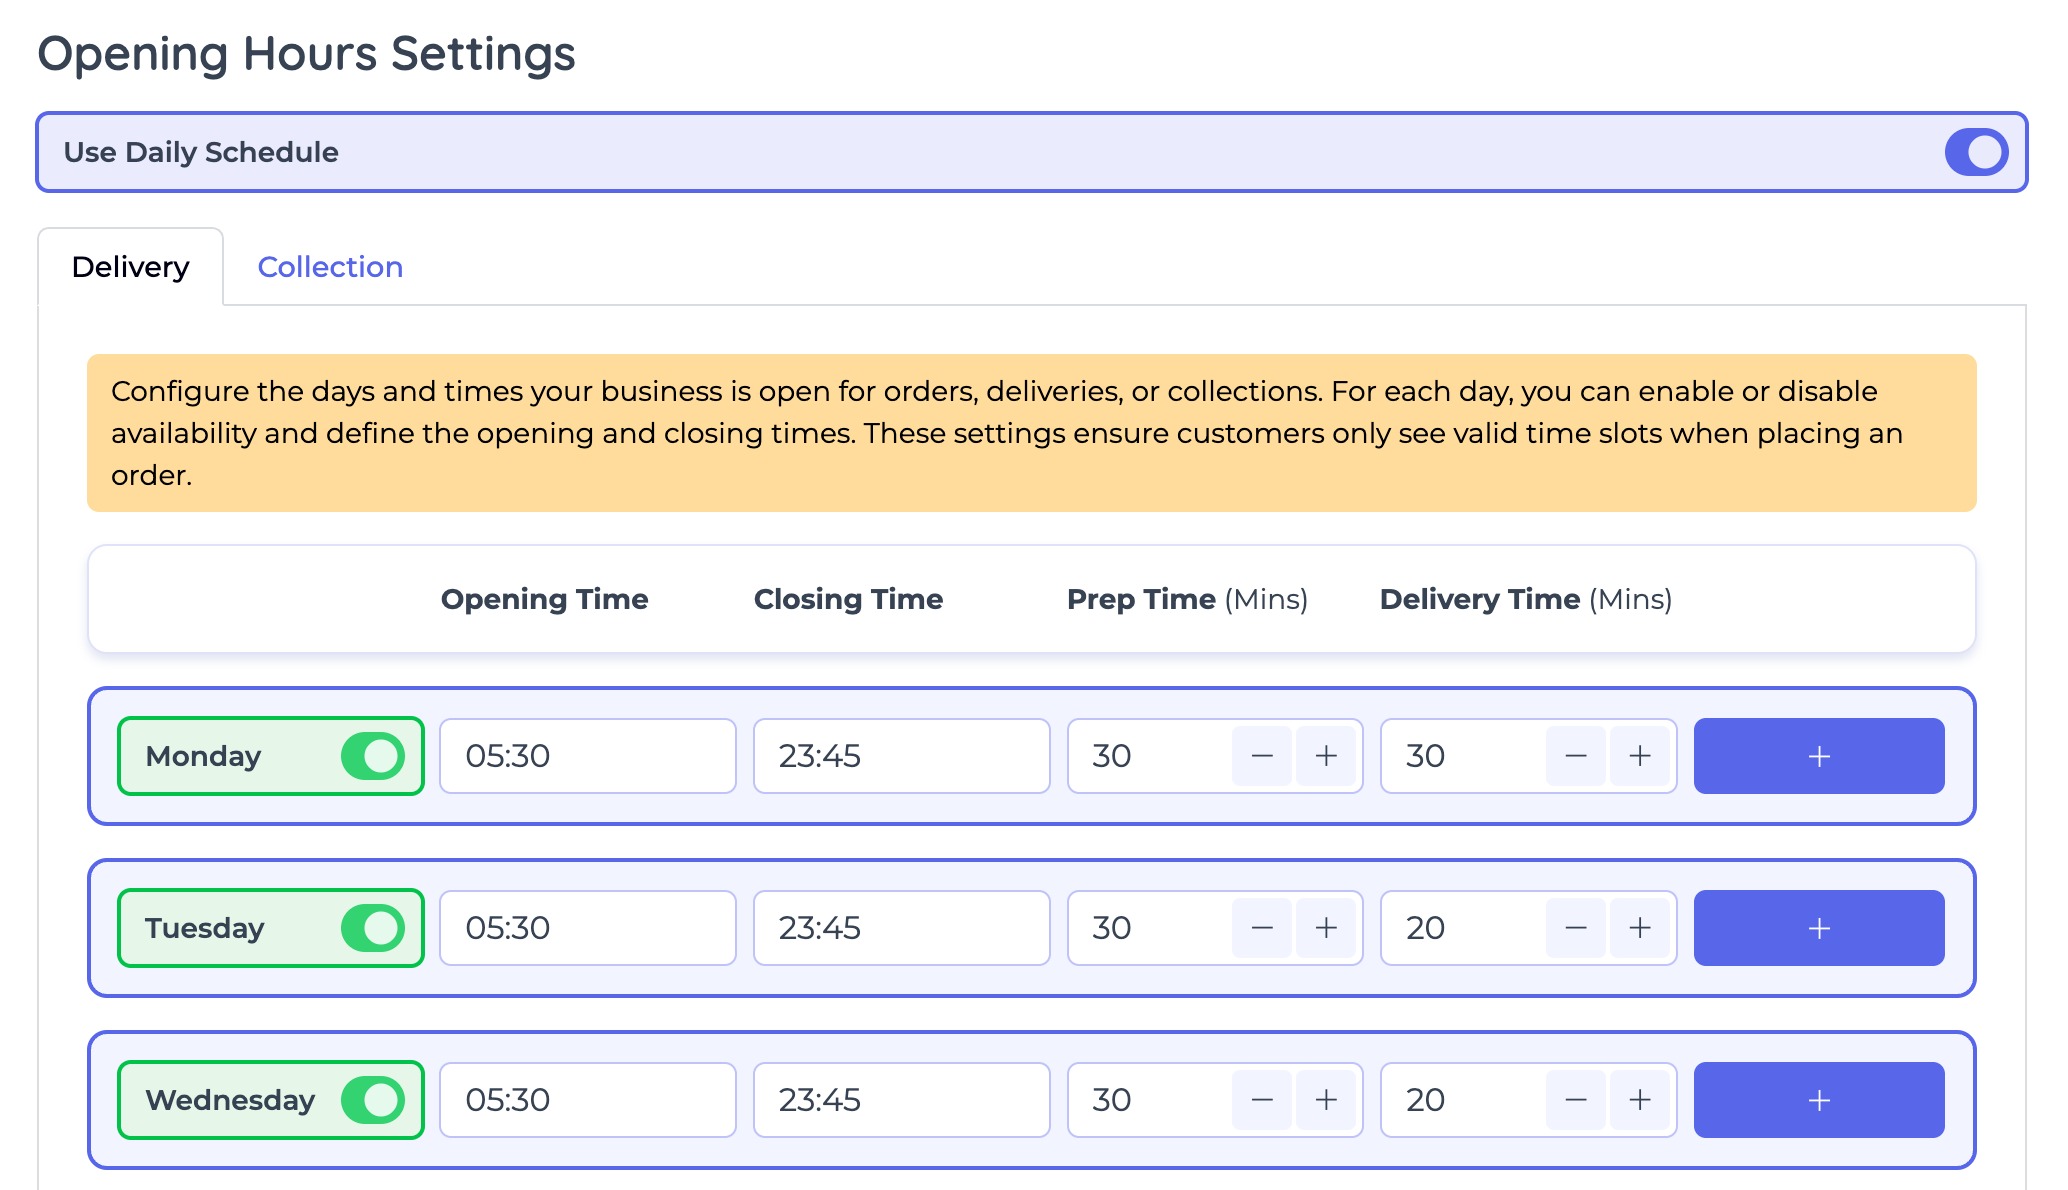
- Navigate to Settings > Opening Hours.
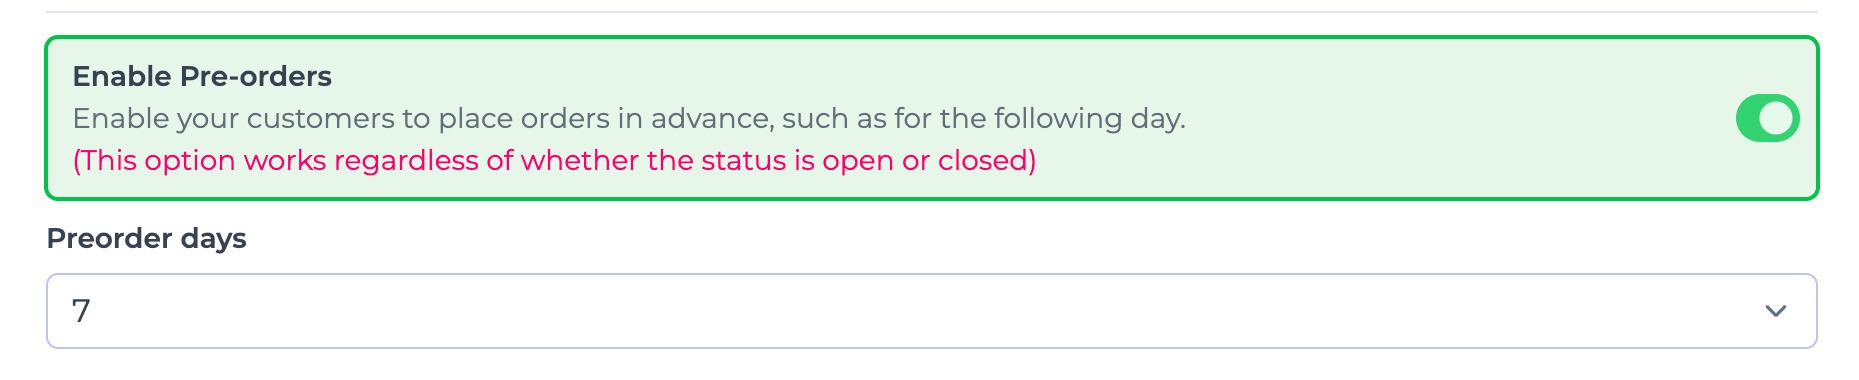
- Toggle Enable Pre-Orders to ON.
- Configure your pre-order settings:
- Pre-Order Days – set how many days in advance customers are allowed to place a pre-order.
- Example: If you set this to 7 days, customers can schedule orders up to a week ahead.
- Preparation Time – how much time you need before an order is ready (You can set this individually per day for both collection or delivery.)
- Pre-Order Days – set how many days in advance customers are allowed to place a pre-order.
⚠️ Note: Pre-orders won’t be available to customers until this setting is enabled.
Step 2 – Receiving Pre-Orders
- Download the Fudli Merchant App from the iOS App Store or Google Play Store
- Enter the credentials provided by the Fudli Team after onboarding:
- Email Address – your registered merchant email
- Password – your secure login password
- Domain – e.g. https://order.yourdomain.com
- Once logged in, you can view and manage all real-time and scheduled orders, including pre orders.
- When a customer places a pre-order:
- You will receive a push notification.
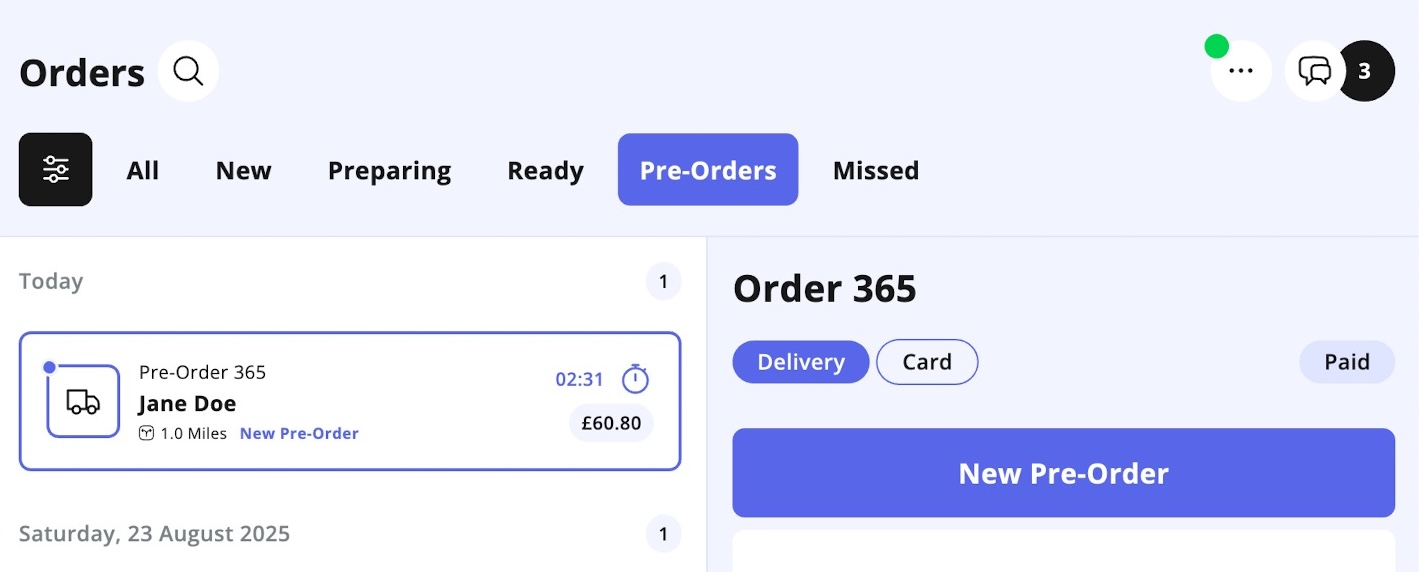
- The order will appear under the Pre-Orders tab in the Merchant App.
- From this tab, you can view all upcoming pre-orders sorted by their scheduled time.
Step 3 – Accepting Pre-Orders
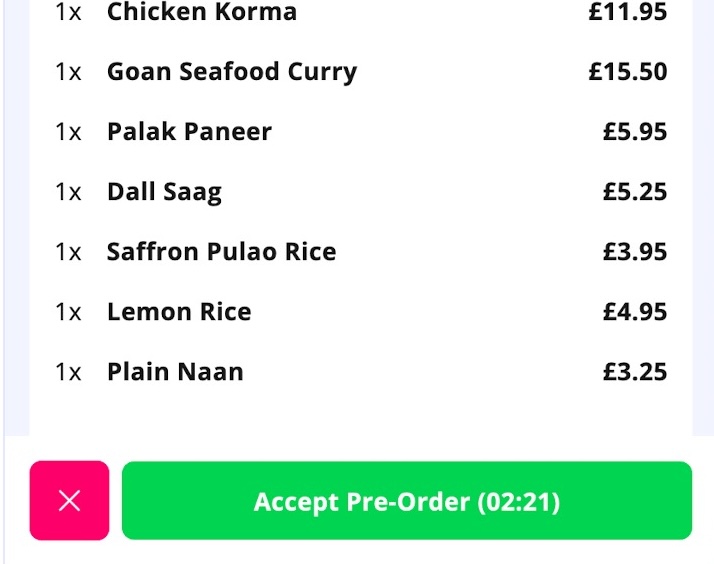
- Open the pre-order by tapping on it.
- If you want to accept it, click Accept Pre-Order.
- Once accepted:
- The order is scheduled.
-
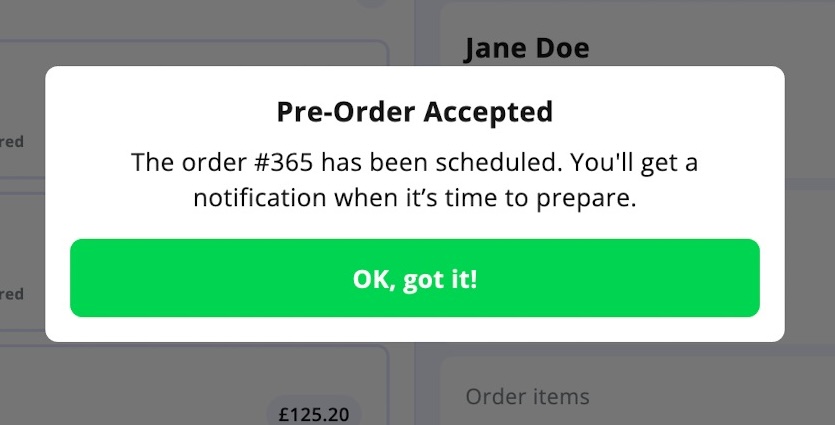
The app will automatically notify you when it’s time to prepare, based on your prep time settings.

💡 Tip: Accepting pre-orders early helps you plan your stock and staffing needs.
Step 4 – Preparing Pre-Orders
- When it’s time to prepare:
- You’ll get a push notification.
-
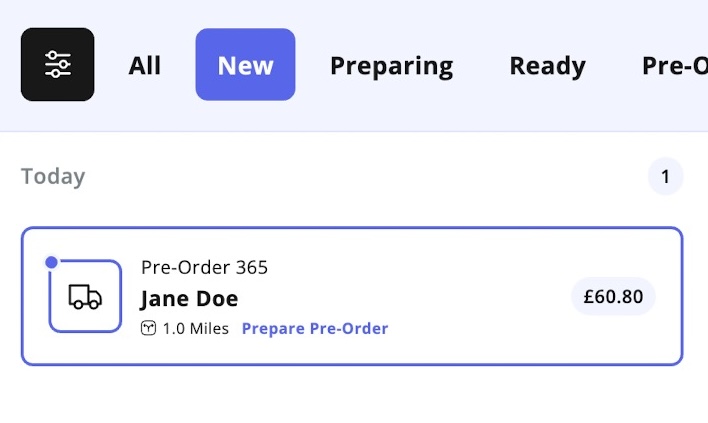
The order will move from Pre-Orders into the New (or All) orders tab.
- At this point, the order behaves like a regular live order:

1. Open the order.
-
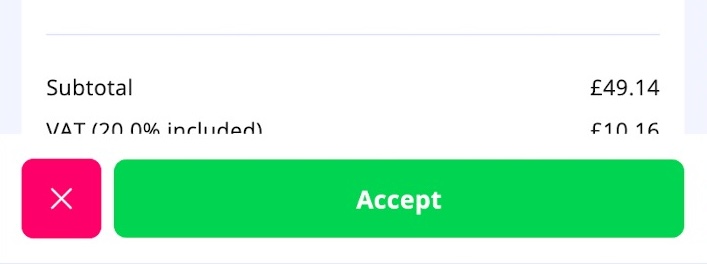
Tap Accept to confirm preparation.

3. Assign a courier (own delivery team or third-party) if it’s a delivery order.
- Prepare and mark as Ready when complete.
3. Cancelling or Rejecting Pre-Orders
There are two ways to cancel/reject a pre-order:
- At the time of receiving
- When the pre-order first arrives, click the red cross (Reject) button if you cannot fulfill it.
- The customer will be notified immediately.
- After pre-acceptance
- If you’ve already accepted the pre-order, you cannot cancel it until it becomes active on the scheduled date.
- When it moves into the New/All tab, you can cancel it as you would with any normal order.
⚠️ Important: Once an order is marked as Cancelled or Rejected, it cannot be restored.
4. Best Practices for Managing Pre-Orders
✅ Regularly check your Pre-Orders tab to stay ahead of upcoming orders.
✅ Keep your prep times realistic in Admin settings so you’re reminded at the right time.
✅ If you’re unable to fulfill a pre-order, reject it as early as possible to avoid customer disappointment.
✅ For catering or large pre-orders, consider calling the customer to confirm details.
✅ Use the first-time order notice (if applicable) to offer a welcome gesture and build loyalty.
5. Summary
With pre-orders enabled, you can:
- Allow customers to schedule meals in advance.
- Accept or reject pre-orders before they are scheduled.
- Get automatic reminders when it’s time to start preparing.
- Manage pre-orders the same way as live orders once they go active.
This ensures smoother operations, better planning and happier customers.